You can use a Windows 10 Device as a Kiosk or Multi Kiosk Device as well as you probably know from a Tablet. The Use Case behind it is to make sure that only defined Applications or a Group of it can be used with the Device.
How to configure it:
Devices – Profiles and Resources – Profiles – Add Profile – Windows – Windows Desktop – Device Profile
Fill in the general Information of the Profile like Name, Assignment Type, Smartgroup to which you want it to assign to.
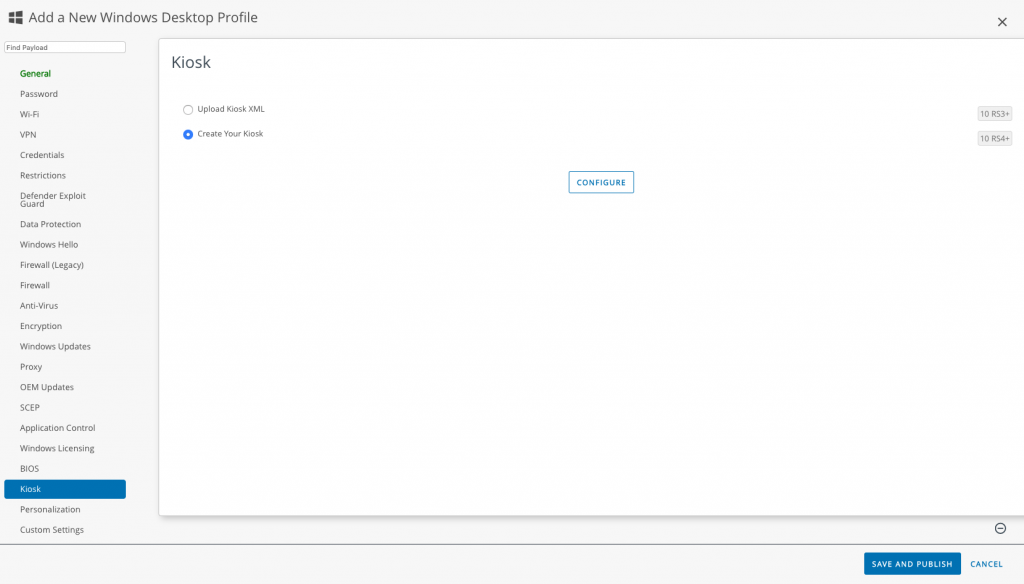
Then choose Kiosk – configure
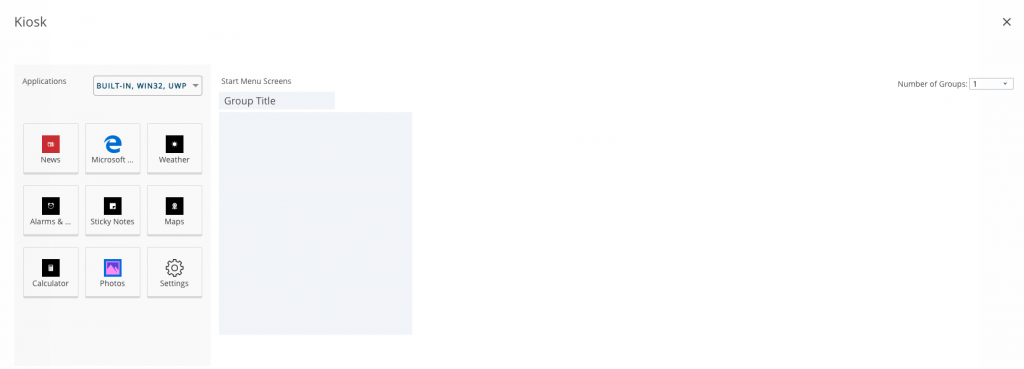
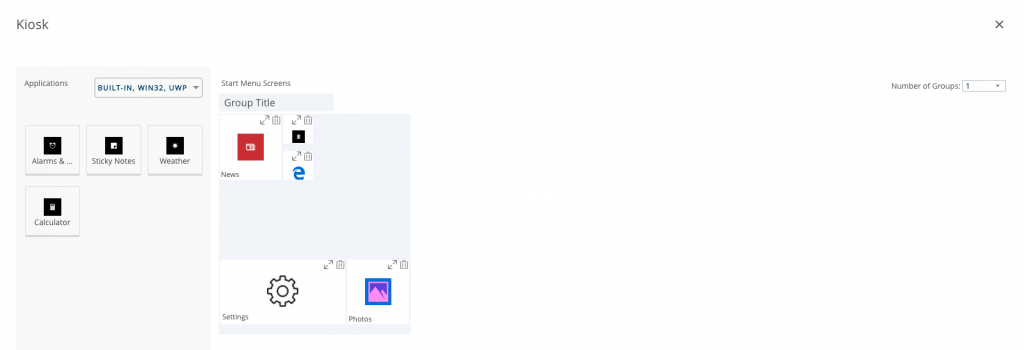
Now you can upload your Kiosk XML-File or a create your Kiosk. If you choose create your Kiosk, you can select the number of Groups for the Apps and the Apps for each Group. That is the definition what will be shown in the Windows 10 Start menu. You can resize it or move them around to the position you need. Be sure for Win32 and UWP (Universal Windows Platform) Apps, that you fill in all necessary Information.
That’s it.
If you delete the Multi Kiosk Profile in the Workspace ONE UEM Console, the device to which it is assigned will reboot automatically after a 5 minute time period. After the reboot the Kiosk User / Mode is going away. Alternatively you can reboot the Device manually.
Attention: Keep in mind, the Multi Kiosk Profile will not be installed on the Device until all Apps will be installed which was selected in the Kiosk Profile.