In current virtual desktop environments the direction went since a couple of month more and more in the direction of non-persistent systems. That mean, you get every time a blank Windows 10 machine for instance. Why that is the way to go?
If you deploy a Windows machine including the applications and profile data you have to consider a lot of parameters in the design and deployment. You have to decide which profile technology you want to use (roaming, local), what is about the network connection in case of an outage. Would the profile be synched back to the Server correctly to prevent data loss etc.
Regarding the applications, which of those have to be installed in the image (Golden Master) that they can be deployed to the users. What is about the applications which are not used by everyone, how you handle that etc.
Last but not least, if you running the Windows machine for a long time without cleaning them up, which you usually don´t do in. production environment, update it, the system will get slower and slower. That is related to the OS design.
In a virtual desktop environment you can prevent that with the non-persistence.
But how can I make sure that the Operating systems works well and with maximum of performance. You have to be aware of the best practices to create the Master (Golden) Image for such environments. The Master will be the base for your users and the system they use.
In the following you will find some tips to create a great Golden Master and make sure you choose the right settings and has the best performance. One hint I have to give, some settings are depending on what you want to achieve. One example, you want to have a great visual effect but that could impact the performance in little nuances. Then it´s your choice.
Windows 10 Golden Master
Create a virtual machine based on your VMware vSphere environment and choose as Operating system Windows 10 x64. As a first step to check which version exactly is supported by VMware Agent and clone technology, take a look here.
In some description are different RAM recommendations. I would recommend to set the Ram to 4 GB and set the option reserve all guest memory (All locked) to make sure the whole amount of RAM is available from the start.
Sometimes I saw that there was set reservations for the machine. That is neither necessary or recommended.
The Hard disk settings depends a lot on the OS. In our case Windows 10 I would use 60 GB of Hard disk to prevent a full OS disk. In the testing and depending on the applications you potentially integrate in the Golden Master, the size can be reduced. But with that size I have got good experiences in the past. Another influencing factor is the user profile. If you don´t use a profile technology like VMware Dynamic Environment Manager (DEM) or Microsoft FSlogix you will have the whole profile installed or synced to the client on the c-drive which needs in some cases a lot of space. That depends on what will be stored there.
Sure you have to choose the correct network where the virtual machine should be deployed to, Make sure you use the newest network adapter. Currently that VMXNET3. That makes sure you get the best performance and compatibility. Enable the adapter at Power on that you have network connection and the driver will be installed.
Depending on the graphical requirements for the sessions, one, two or more monitors and the resolution of them, adjust the video card memory. A good overview which amount of memory you need depending on the recent mentioned requirements you can find here.
To reduce the hardware and the drivers which have to be installed, I recommend to delete all hardware devices which you don´t need in your environment. One example could be the floppy drive.
Regarding the hardware we can set advanced parameters. Go to the customize hardware section, look for Configuration Parameters and click Edit Configuration. Two things are to consider, if you don´t want to have the notification in the Windows system try which show “savely remove hardware” you have to add a line here.
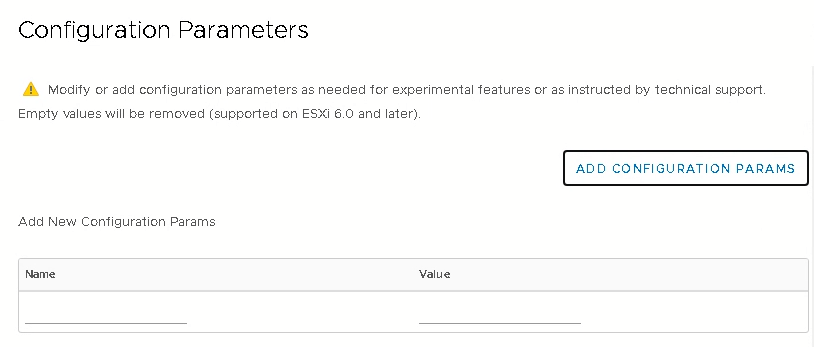
But be aware that this means you prevent the hotplug feature for NICs and SCSI controller. Further if you use App Volumes, I recommend to not set this paramter because you will get in trouble if the disks will be added to the machine and you don´t have enough SCSI controllers in the VM to handle those. Of course, another way would be to add as many as necessary SCSI controller to the VM to connect the App Volumes App Stacks you want to attach.
Another warning, if you put in parameters they need a value, if you don´t put in a value this can prevent the vm to start.
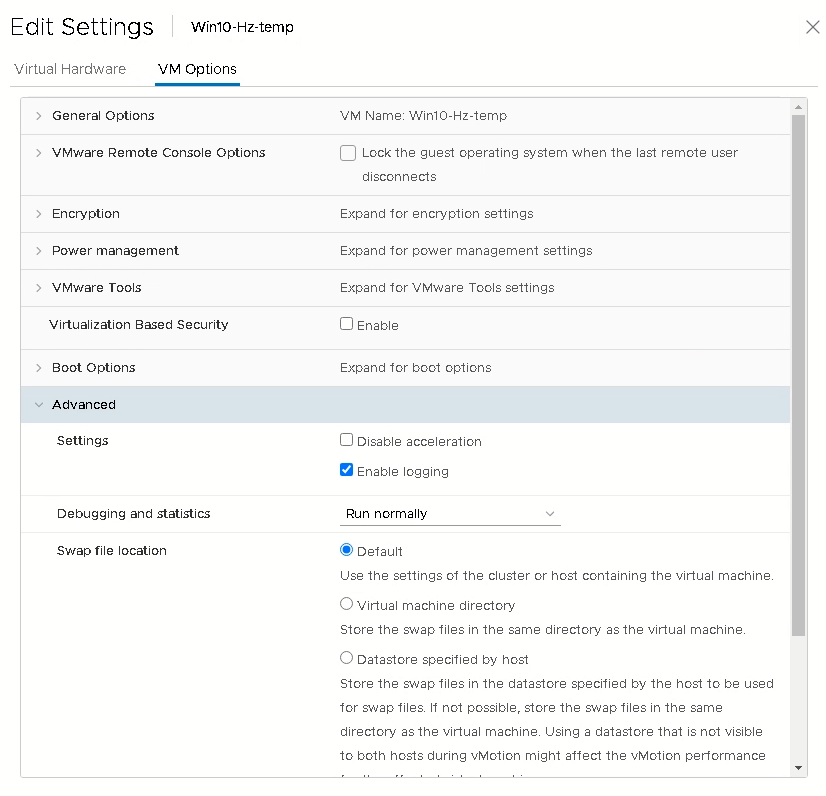
In addition you can customize the option for debugging and statistics. This option is default set to run normally. But you can configure:
- Record debugging information
- Record statistics
- Record Statistics and debugging information
as well. That could be helpful in case of a support case and will give additional important information to the technical support team.
Now you can start to install your Operating System (OS). In some articles you will find information around entering the Audit mode during the installation to skip some screens. I´ll skip that here and install in a default way with the creation of a local account. We don´t need to use it afterwards, so no issue.
After the Os is installed, Windows 10, the first thing we have to do is to install the VMware tools. Mount these through your vCenter and you will get a message in Windows. Otherwise search for your CD / DVD drive an open the installation medium (right-click run setup). A very important point here to consider. Choose the custom installation and take a look at the several options given in the installer. If you don´t need something of that, disable it. If you for instance don´t use Carbon black you can disable this option.
After the installation the VM will reboot. Now you can configure screen resolution, network discover etc.
Windows OS optimizing
In the Windows OS go to updates (Update & Security) and disable the automatic installation of updates. That make sure you will handle the update lifecycle of the Windows system by yourself and can test the updates in the test environment which you hopefully have before they will be implemented in the production.
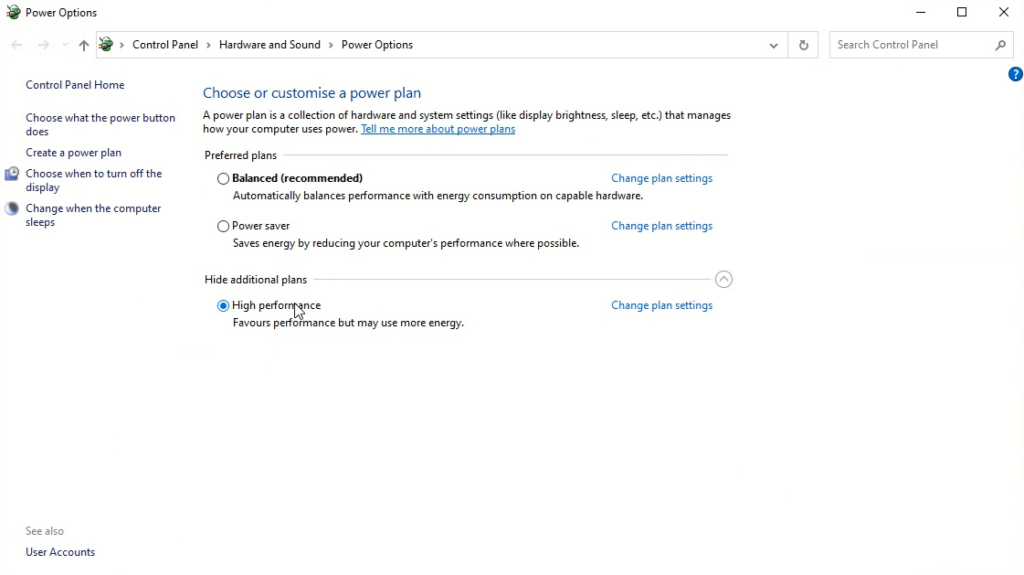
Another point is to the Power options to High performance.
Now we can use the OS optimization tool (OSOT) for optimizing the Windows system depending on our use case and expectations. You will have noticed that I wrote “can use”. Exactly, you can use it but you don´t have to. The recommendation of VMware is to do so.
What I do all the time if I configure such environments I talk to the customer and discuss which expectation they have to the VDI infrastructure and which use cases they want to achieve. I will give you an example. It´s a difference if you implement a VDI infrastructure in a manufacturing scenario or in a engineering high confidential scenario. Therefore the optimization of the image depends a bit and here the experience with such helps a lot. You can switch off high graphical effect of let them on if the customer want so. That don´t make such a hugh difference with that one option. But please be careful and consider each option, it will have a little impact and a lot little pieces make a cake, you get the point.
I always use the the following which the experience has shown otherwise will bring you in trouble and you will search a lot to understand and find where the issues comes from.
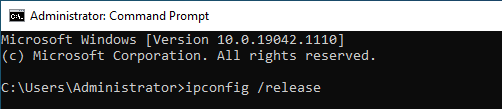
That will kick out all network configuration. I´ve seen environments where this if you forgot that, has let to a lot of issues in the environment with DHCP and DNS.
Horizon Agent
Now you can install the Horizon Agent. It´s very important to understand that the Horizon Agent will always be installed after the VMware tools.
Within the Horizon Agent installer you can choose several options. Make sure you select and deselect the right ones.
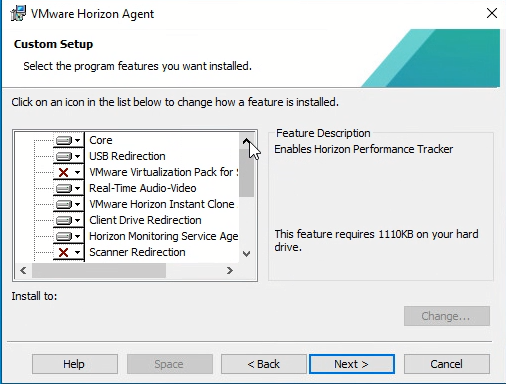
I recommend to install the “Horizon Monitoring Service Agent”
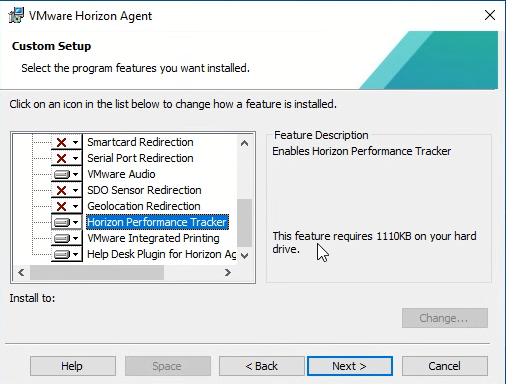
and the “Horizon Performance Tracker”. That will help you later in troubleshooting cases to get the correct and important information. Be aware to install or use the performance tracker you have to install .NET Framework 4.0 or later.
Make sure the VMware Horizon View Logon Monitor service ist started and set it to automatic afterwards in the services of Microsoft Windows. The Logon Monitor integrates with the VMware Horizon Help Desk tool timing profiler (Help Desk tool I described here) and gives you a bunch of information which will make your troubleshooting life easier. With that the Logon related metrics will be sent to the Horizon Agent event database. The Logon monitor integrates with other VMware products like App Volumes, Dynamic Environment Manager (DEM) and the Horizon Agent. That gives you the capability to log and show logon related events regarding these products. That means you can see how long the logon takes, how long the profile will be loaded or applications and analyse the performance and potential issue with that data.
To activate the Horizon Help Desk timing profiler use this command:
vdmadmin -I -timingProfiler -enable
The timing profiler is disabled by default.
I used it in several projects to analyse the performance of the environment with regards to the logon itself form a time consuming perspective and to understand which parts of the logon process takes the most time. If you have such such detailed information you can troublehoot much quicker.
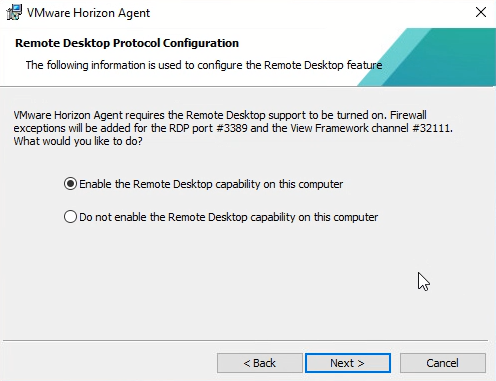
Enable the Remote Desktop capability.
You may see in older version of VMware Horizon two option, Instant Clone and Composer. Choose only ONE of them never both. The the current versions it´s default Instant Clone and Composer is not available anymore.
That´s it. Now you can if you want additionally install the App Volumes Agent or applications you want to deliver to your users with the Image but please please do not include much applications in the Golden Image. The reason is very simple, you have to update the Golden Image from time to time (OS updates, configuration etc.) and test it before it goes to production. If you include applications in it, it will be more complex and you have to update the application as well, test it, test the dependencies and set some dependencies as well.
Antivirus exclusions
Often in troubleshooting scenarios that is one topic to consider. If you implement a VDI infrastructure with VMware you have to make sure to set the correct Antivirus exclusions. Here you will find a good reference.